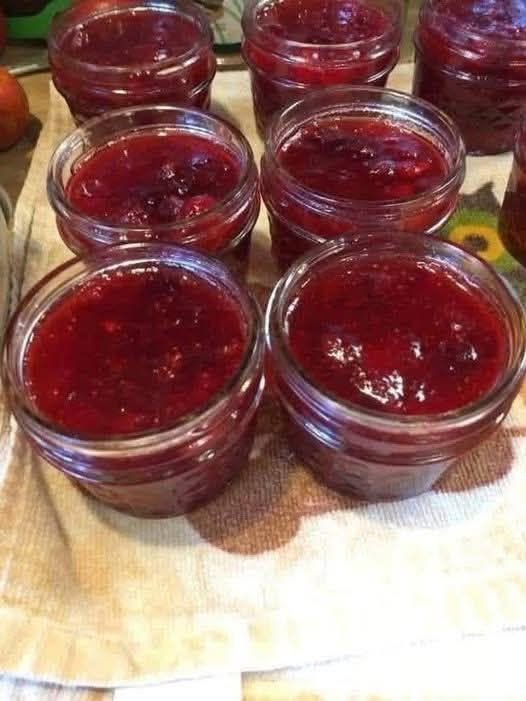
Yield: About 4 cups
Serving size: 1 tablespoon
Estimated WW Points: 0 Points per serving
This is designed as a refrigerator/freezer jam. Do not store these jars unrefrigerated like traditionally canned jam unless you use a separately tested canning recipe.
Ingredients
- 4 cups fresh or frozen strawberries, hulled and chopped
- 2 cups fresh or frozen raspberries
- ½ cup zero-calorie granulated sweetener, or to taste
- 2 tablespoons fresh lemon juice
- 1 teaspoon vanilla extract
- ¼ teaspoon xanthan gum
- Tiny pinch of salt
- 2–4 tablespoons water, only if needed
Instructions
- Add the strawberries and raspberries to a large heavy-bottomed saucepan. If using frozen berries, there is no need to thaw them first.
- Add the lemon juice, sweetener, and a tiny pinch of salt.
- Place the saucepan over medium heat and cook for about 5 minutes, stirring frequently. The berries will begin releasing their natural juices.
- Once the fruit has softened, use a potato masher or the back of a wooden spoon to break it down. I like leaving some little pieces of fruit instead of making it completely smooth because it gives the finished jam a much more homemade texture.
- Reduce the heat to medium-low and simmer for 15–20 minutes, stirring every couple of minutes.
- As the jam cooks, it will reduce and become darker, thicker, and glossier.
- If the mixture starts sticking before the berries have completely softened, add 1–2 tablespoons of water. Usually frozen berries release enough liquid that you won’t need any.
- Once the fruit has cooked down, taste the jam. Add a little more zero-calorie sweetener if your berries are especially tart.
- Stir in the vanilla extract.
- Sprinkle the xanthan gum very slowly over the surface while whisking continuously. Do not dump it all in at once because it can clump.
- Continue whisking for about 30–60 seconds. The jam will still look slightly loose while hot, but it thickens considerably as it cools.
- Remove the saucepan from the heat and let the jam cool for about 15–20 minutes.
- Spoon it into clean small jars or airtight containers.
- Leave the lids slightly loose until the jam has cooled closer to room temperature, then seal the containers.
- Refrigerate for at least 3–4 hours before judging the final thickness. Overnight is even better.
- Store in the refrigerator for about 7–10 days, or portion into freezer-safe containers and freeze for longer storage.
- If freezing, leave a little empty space at the top of each container because the jam expands slightly as it freezes.
- Thaw frozen jam overnight in the refrigerator and stir before serving.
Nutrition Facts
Per 1 tablespoon, approximately:
- Calories: 8
- Protein: 0.2g
- Carbohydrates: 2g
- Fat: 0g
- Saturated Fat: 0g
- Fiber: 0.6g
- Sugar: 1g
- Sodium: 2mg
Estimated WW Points: 0 per 1-tablespoon serving
One thing I’ve learned after making homemade berry jam a few times is not to panic when it still looks runny in the saucepan. I used to keep cooking it because I was waiting for it to look like store-bought jam while it was hot, and then once it cooled I’d end up with something almost too thick to spread. Now I stop when it coats the spoon but still flows slowly. After a few hours in the refrigerator, it firms up quite a bit.
I also prefer leaving some actual berry pieces in it. You can blend it smooth if that’s your thing, but when I mash it by hand, it feels much more like real homemade jam and less like a fruit sauce. The little raspberry bits especially give it that classic texture.
The xanthan gum is another ingredient where less really is more. A tiny amount does the job. If you add too much, the jam can go from pleasantly thick to almost gummy. I sprinkle it in slowly while whisking and then wait before deciding it needs more. Most of the thickening happens as the jam cools anyway.
I also make this in smaller jars rather than one big container. It’s easier to keep one jar in the refrigerator and freeze the extras, and I don’t have to worry about the whole batch sitting open for a week. The small jars also make it feel like I have my own little stash of homemade jam ready whenever I want toast, yogurt, oatmeal, or a spoonful mixed into cottage cheese.
And honestly, once you get used to making it this way, buying those tiny expensive jars at the store starts to feel a little silly. You can adjust the sweetness depending on the berries, keep the texture exactly how you like it, and make several jars from one batch.